High Grade Surgical Orthopedic Instrument Set Knee Joint Femoral Instrument Set

Still deciding? Get samples of $ !
Request Sample

Product Description

Basic Information
Model NO.
Orthopedic Instrument
Feature
Reusable
Certification
CE, ISO13485
MOQ
1 Set
Transport Package
Cartons
Origin
China
Production Capacity
5000 Pieces / Year
Product Overview
Surgical Orthopedic Instrument Set
Knee Joint Femoral Instrument Set

Knee Femoral Instrument Set Surgical Technique

This structured outline provides essential surgical guidelines and documentation for the Knee Femoral Instrument Set.

1. Preoperative Preparation
Patient Positioning: Supine, with knee flexed to 90° or placed in a leg holder.
Sterile Draping: Ensure full exposure of the operative knee.
Instrument Check: Verify all components of the femoral instrument set (e.g., cutting blocks, alignment guides, sizing templates).
2. Surgical Approach
Incision: Standard medial/lateral parapatellar, midvastus, or subvastus approach.
Exposure: Reflect patella, expose distal femur.
3. Femoral Resection Steps
A. Distal Femoral Cut
Alignment: Use the distal femoral cutting guide (intramedullary/extramedullary).
Resection Depth: Set according to preoperative planning (typically 9-10 mm from the least affected condyle).
Verification: Check alignment with a spacer block.
B. Anterior & Posterior Femoral Cuts
Sizing: Use the femoral sizing guide to determine implant size.
Rotation: Set anteroposterior (AP) cutting block aligned with Whiteside's line or the transepicondylar axis.
Resection: Make anterior, posterior, and chamfer cuts using the 4-in-1 cutting block.
C. Notch Preparation (if applicable)
Intercondylar Notch Cut: Use the notch cutting guide for cruciate-retaining (CR) or posterior-stabilized (PS) designs.
4. Trial Implant Placement
Fit Check: Insert trial femoral component, assess alignment, and balance with tibial/patellar trials.
Range of Motion (ROM) Test: Verify knee stability in flexion/extension.
5. Final Implant Fixation
Bone Preparation: Pulse lavage, dry bone surface.
Cementing Technique (if applicable): Apply PMMA bone cement, pressurize, and seat the femoral component.
Alternative: Press-fit technique for cementless implants.
6. Closure
Irrigation & Hemostasis: Saline wash, electrocautery as needed.
Layered Closure: Capsule, subcutaneous tissue, skin.
Key Considerations
Alignment: Critical for implant longevity (avoid malrotation).
Soft Tissue Balance: Adjust cuts if gaps are asymmetric.
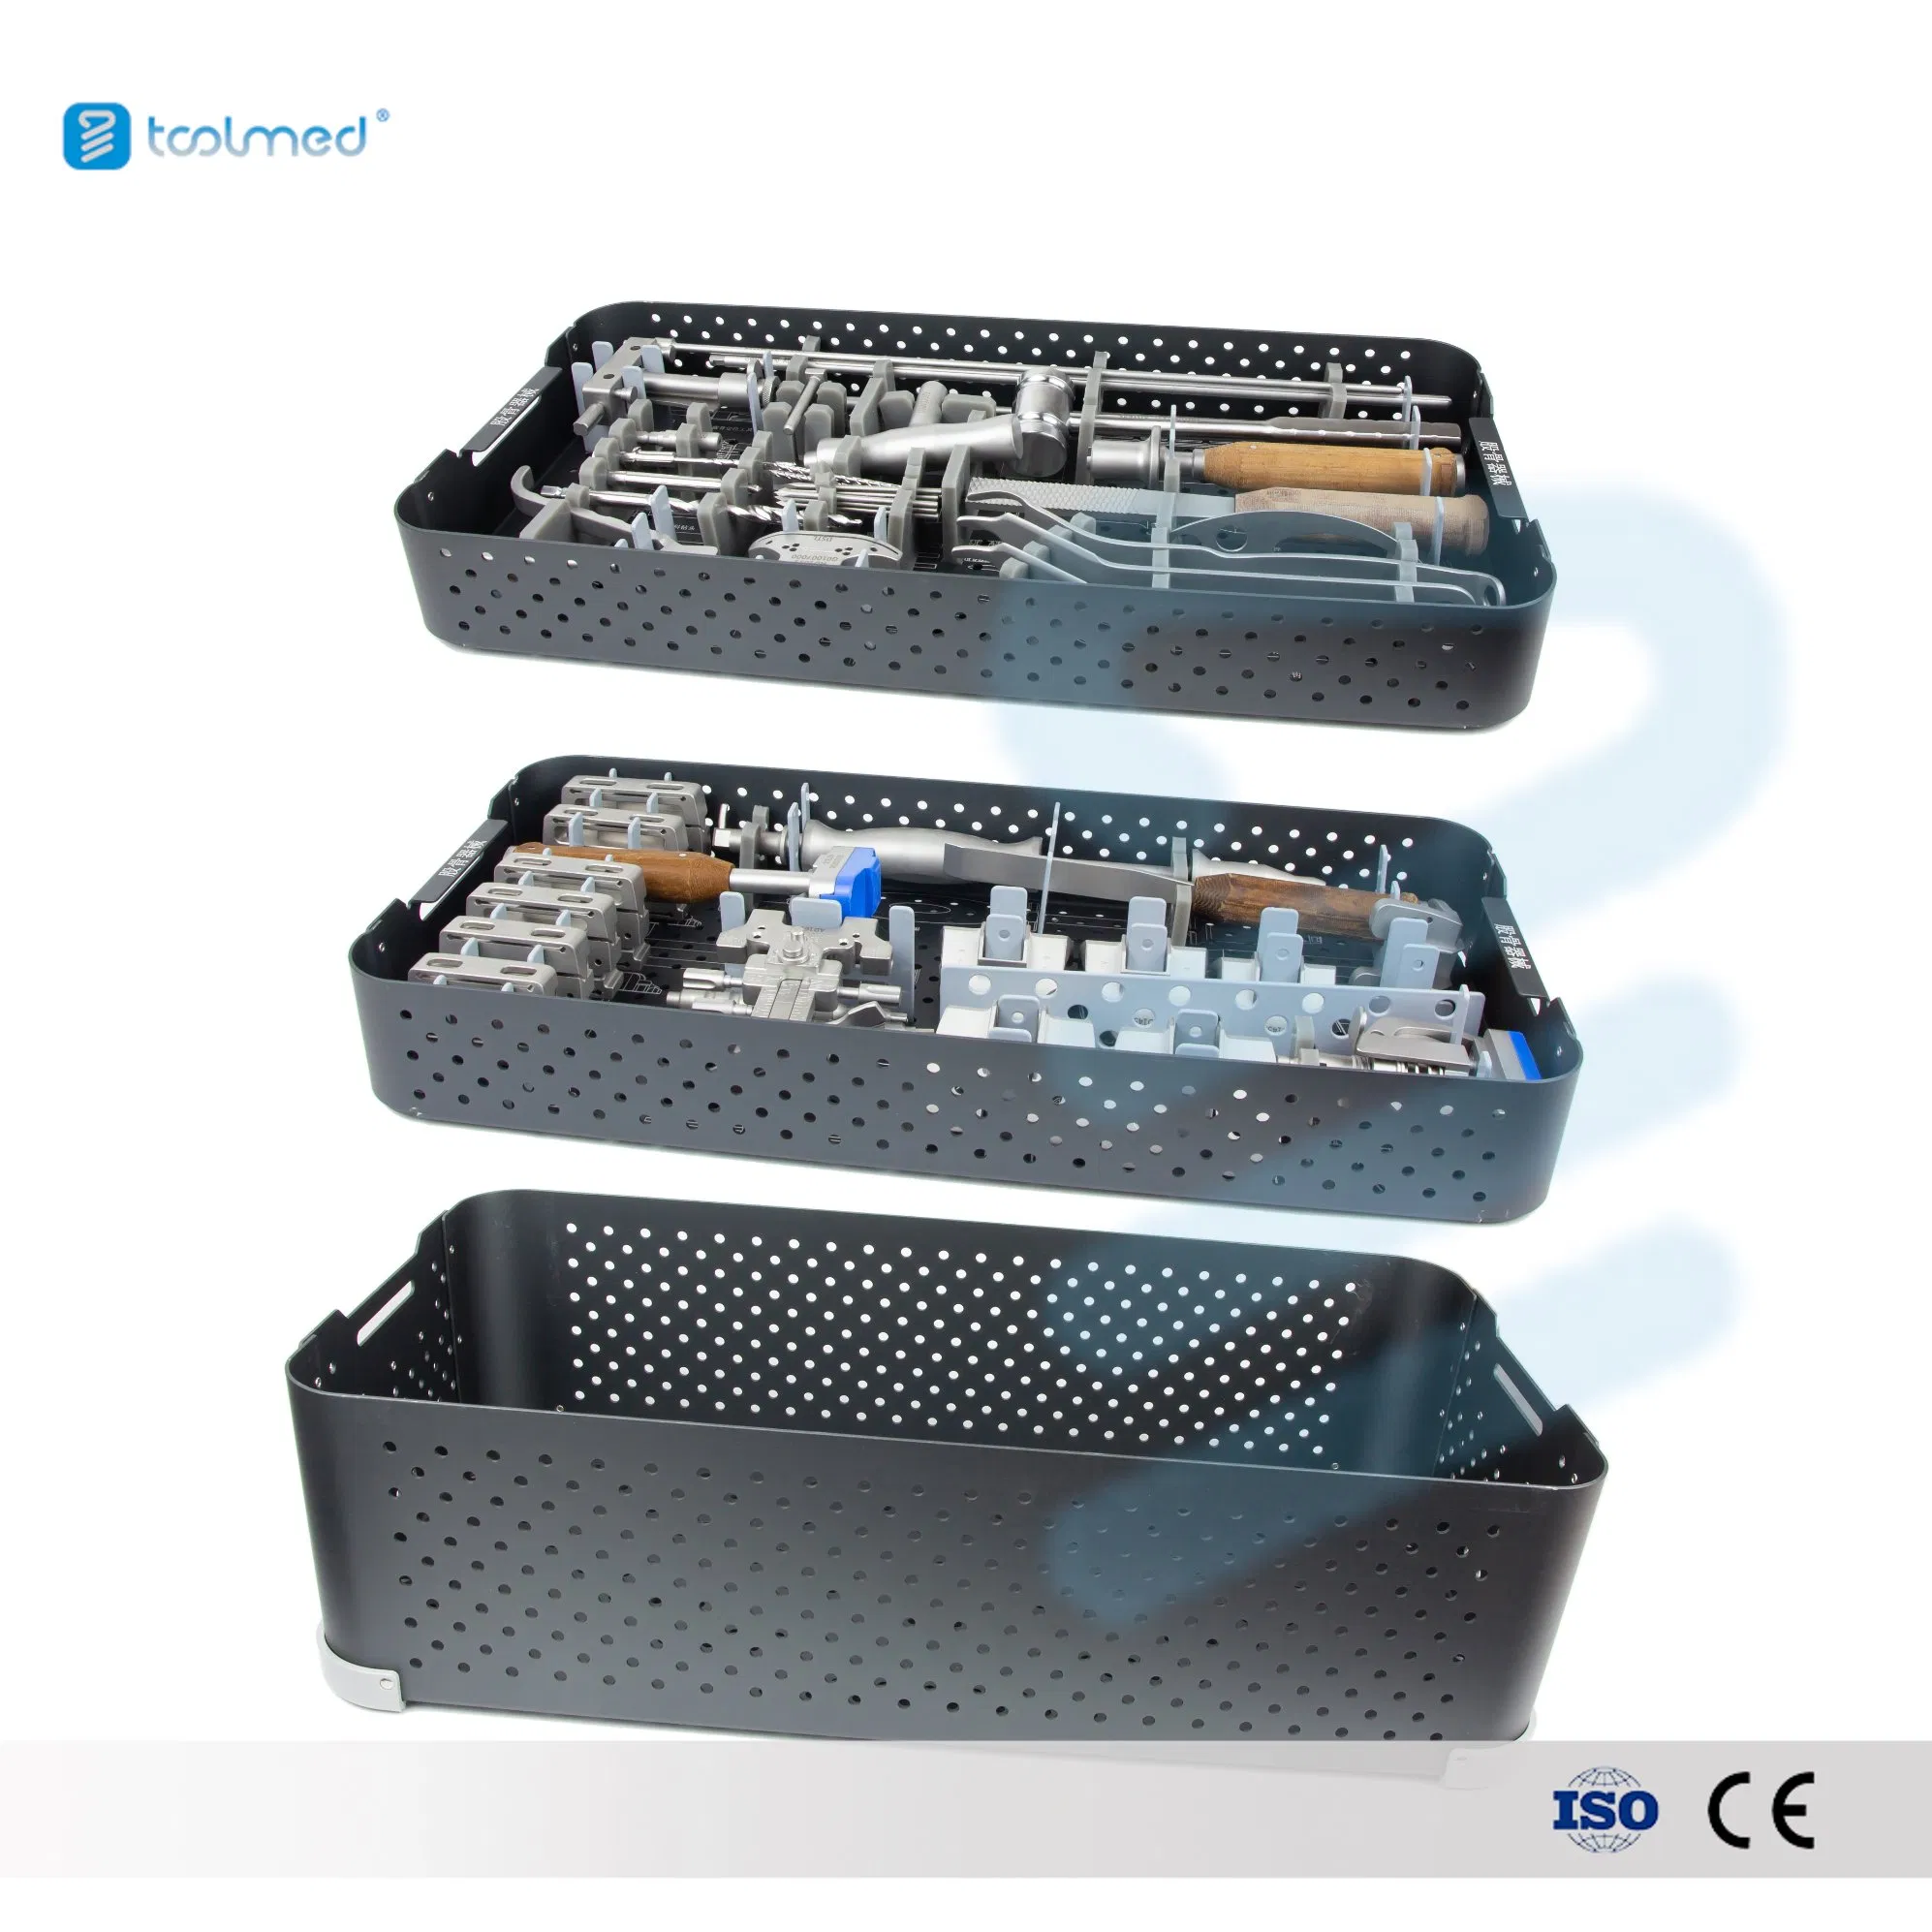
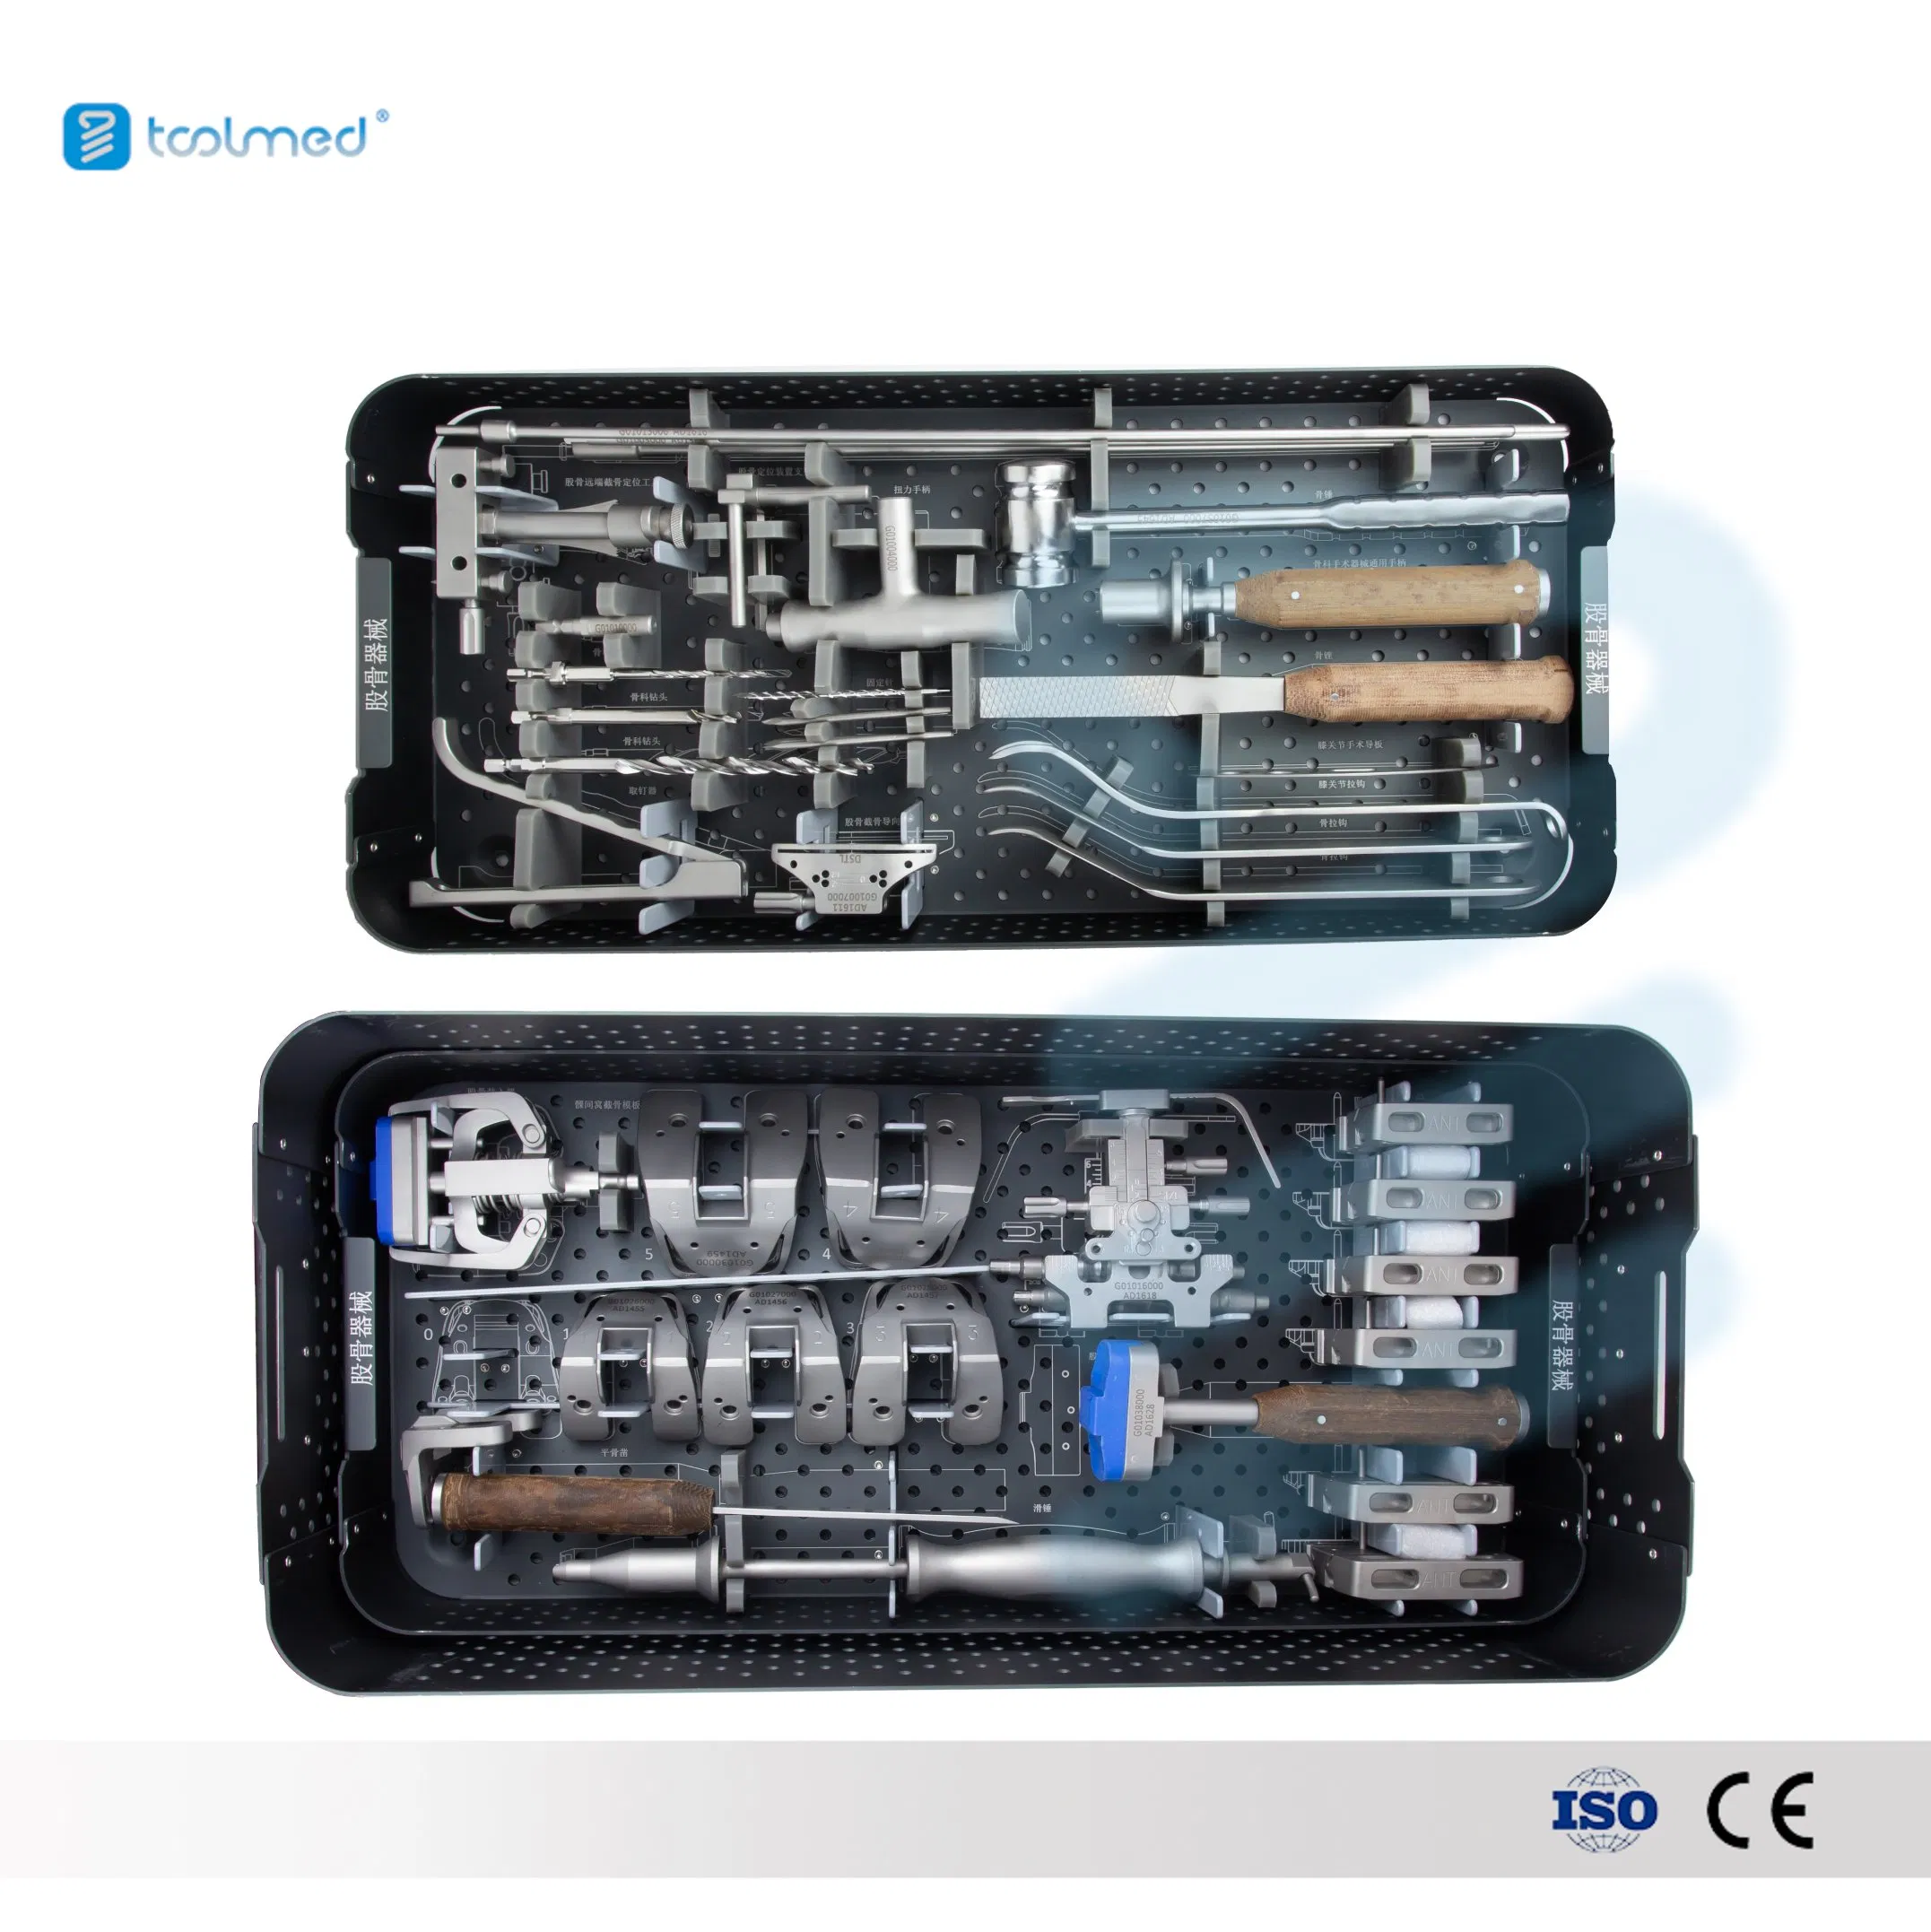
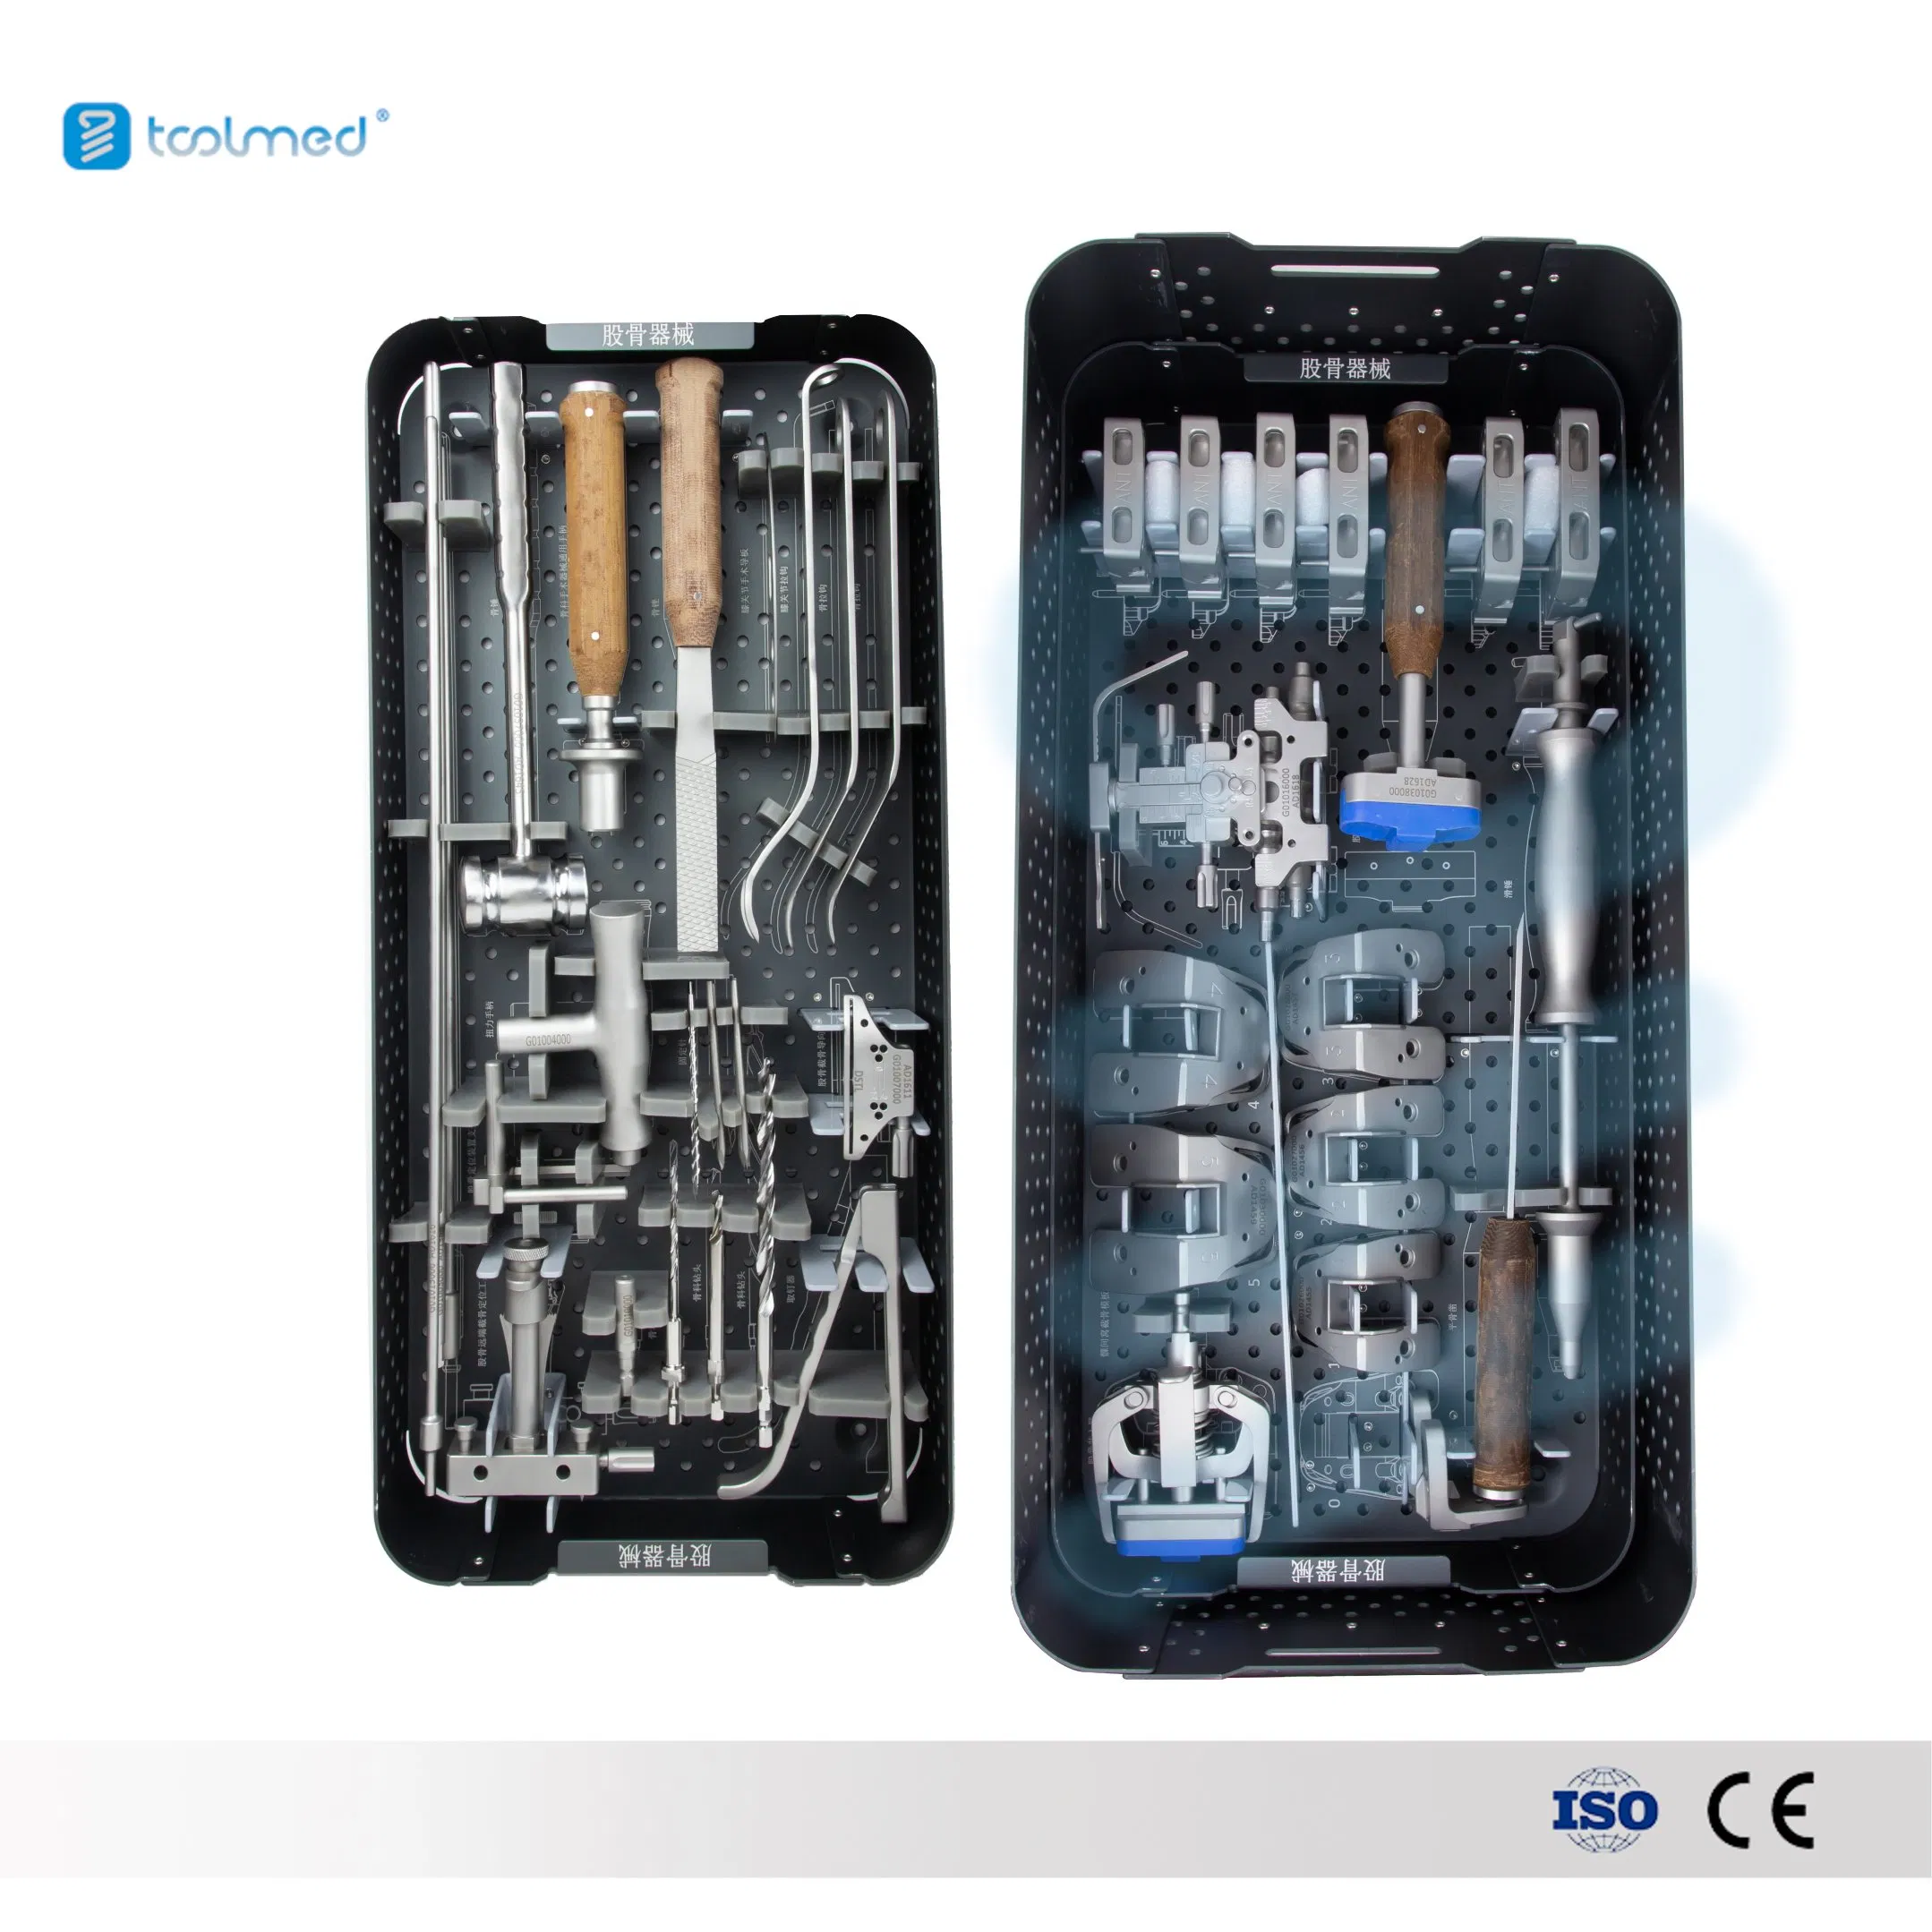
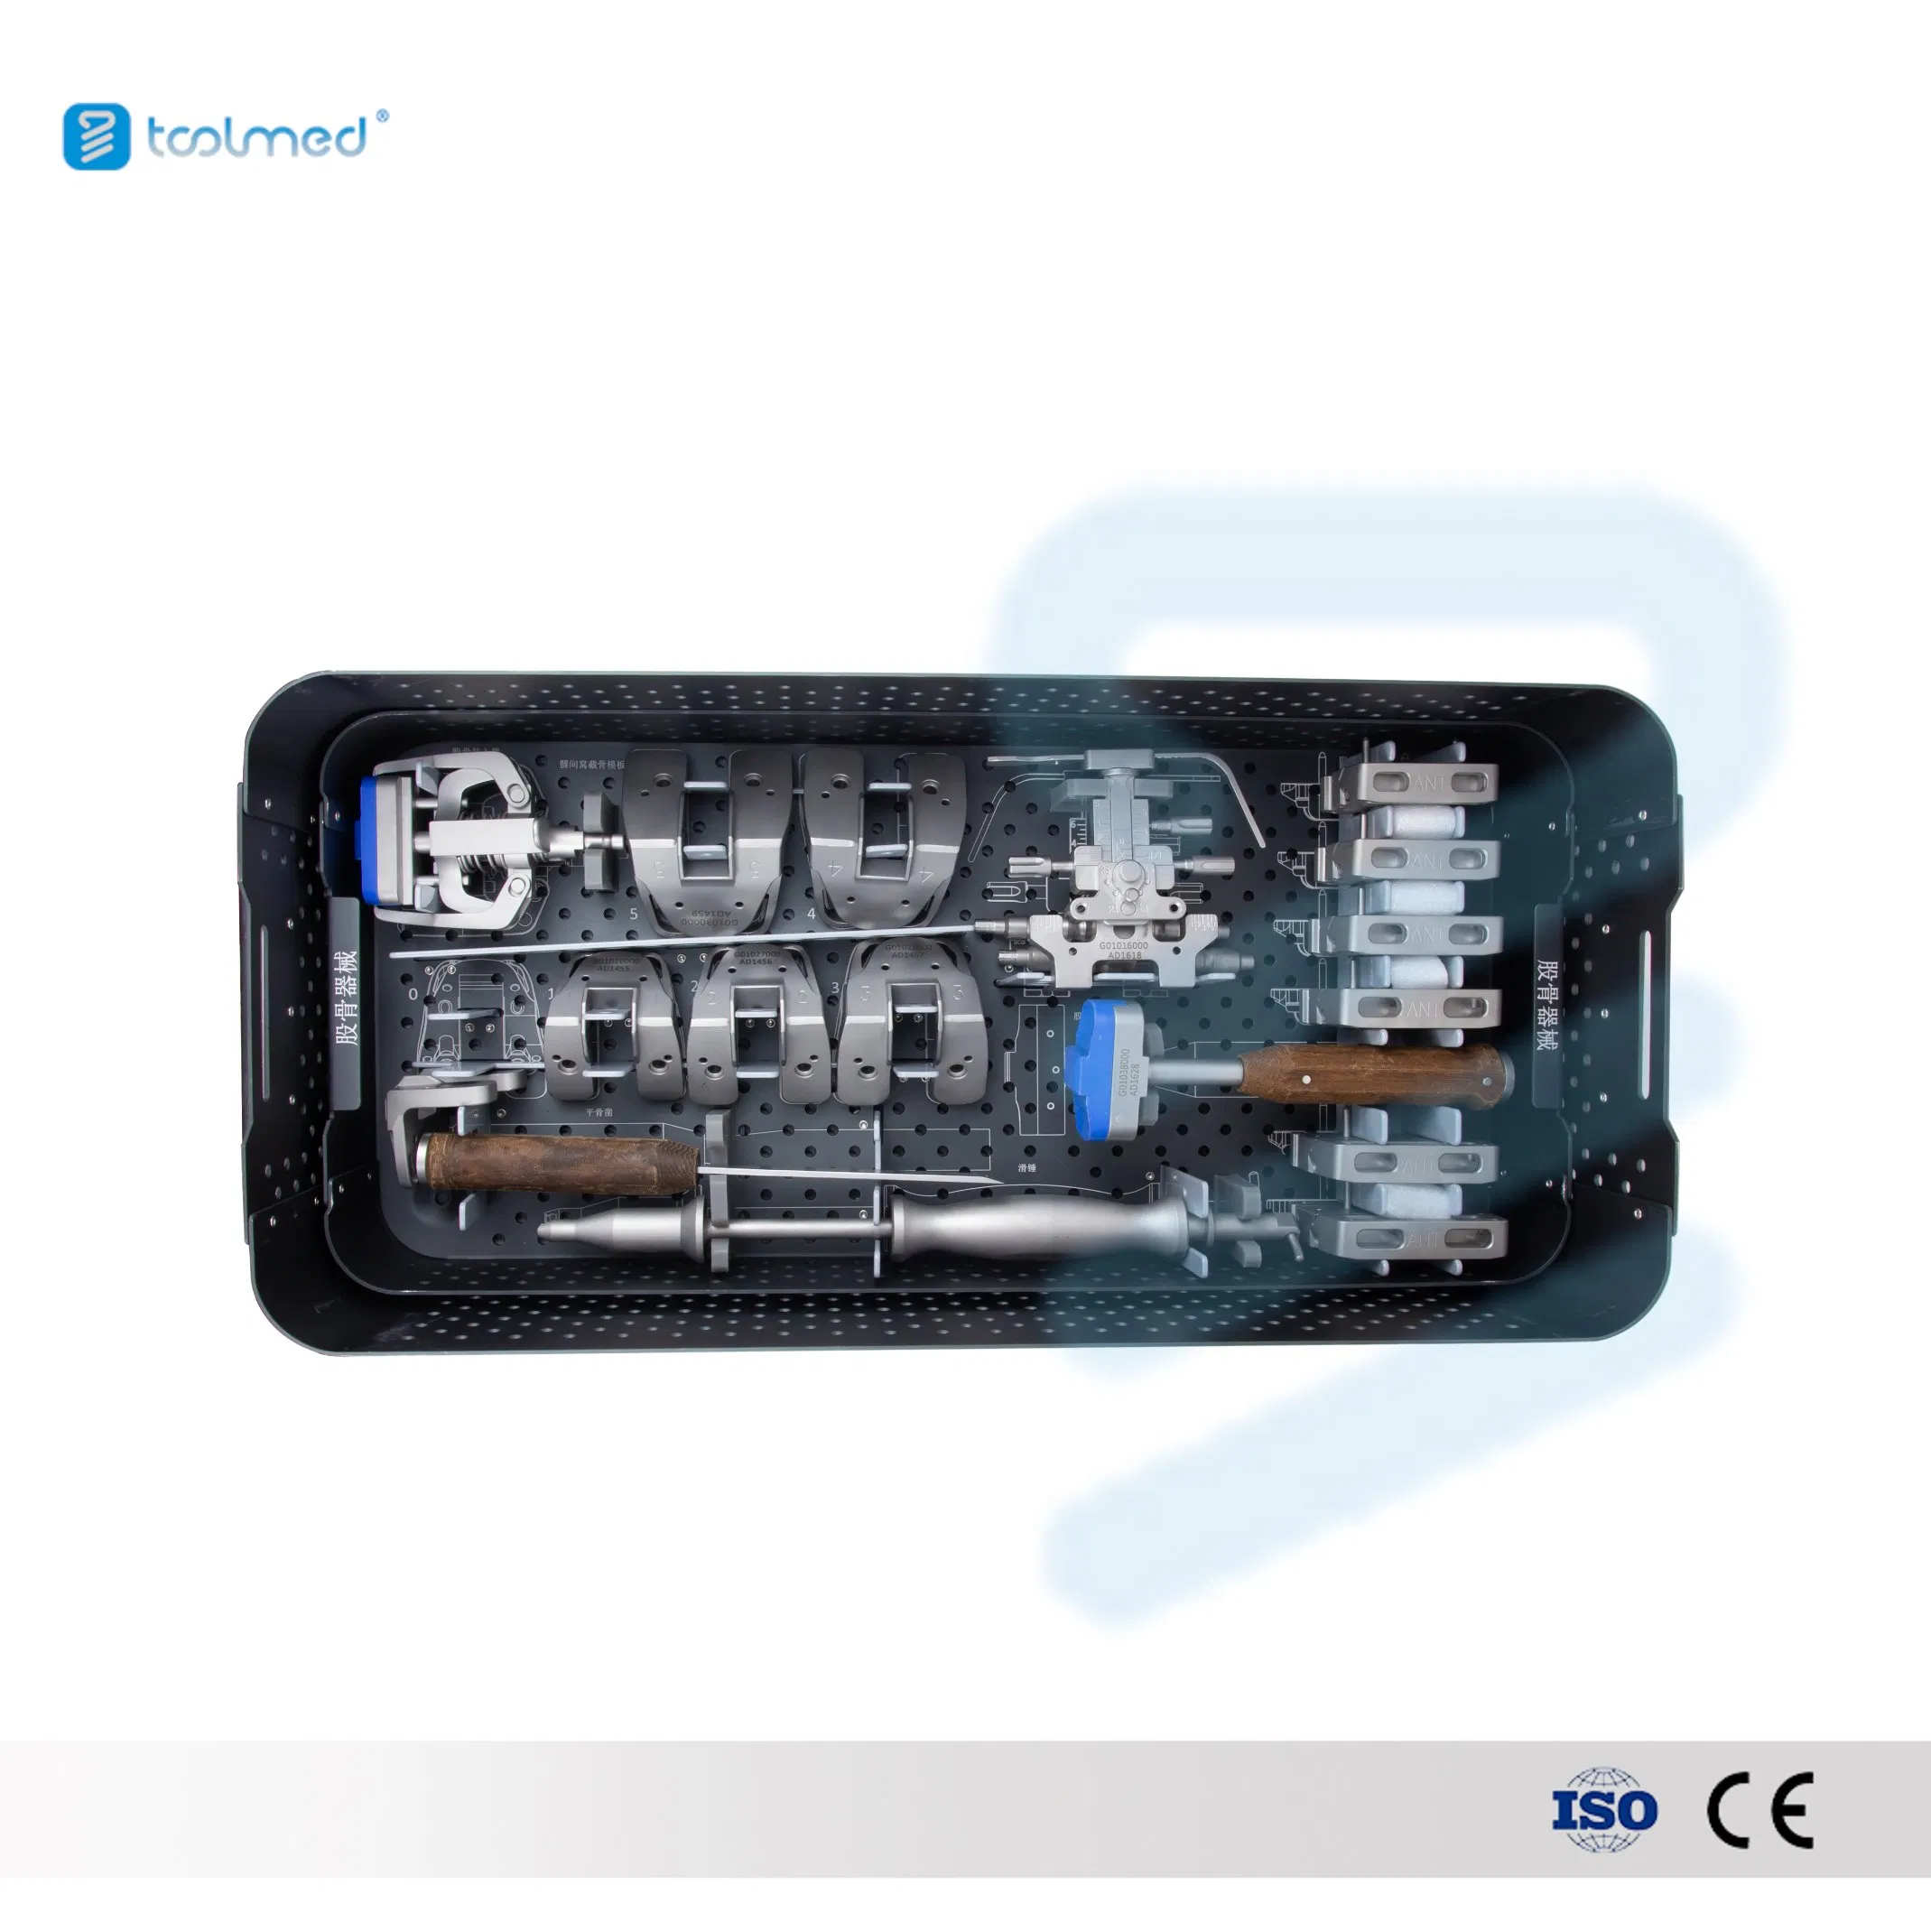
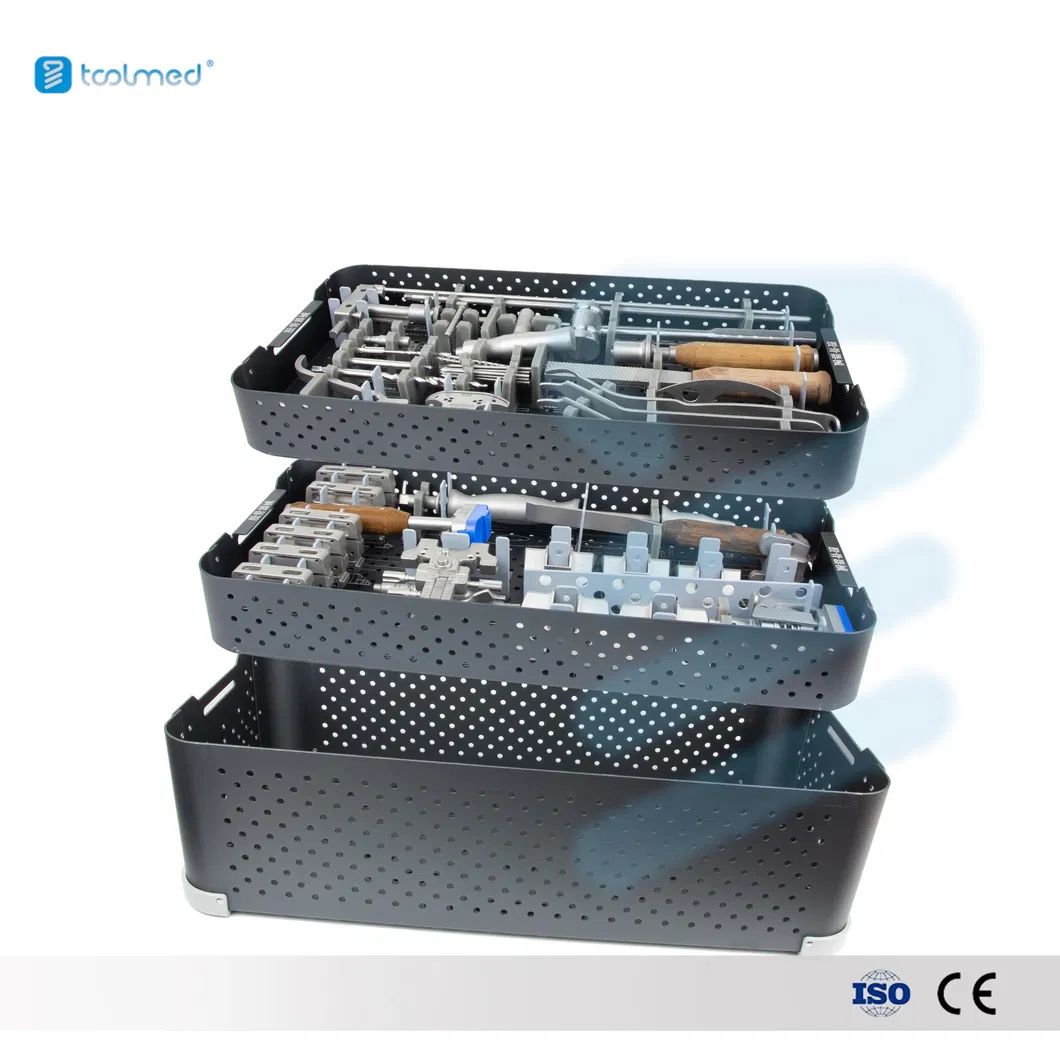
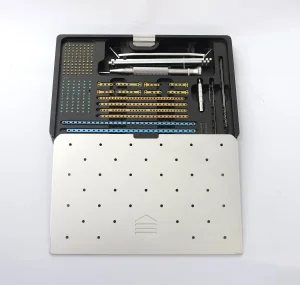
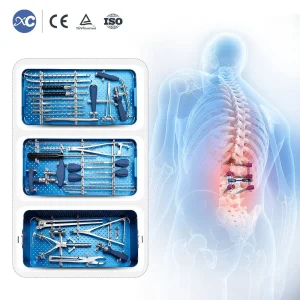
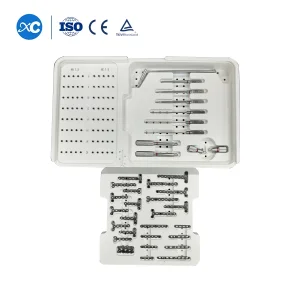
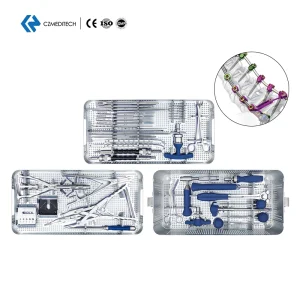
Implant-Specific Steps: Follow manufacturer's guidelines for varying systems.
Frequently Asked Questions
Are you a trading company or a manufacturer?
We are a manufacturer established in 2013. We started as an OEM manufacturer for several local orthopedic companies. Following our CE & ISO13485 certification in 2019, we have transitioned to promoting our own professional brand.
How is the product quality and what certificates do you have?
Our products are fully approved by CE and ISO13485. Currently, we have established sales networks across Asia, South America, and Eastern Europe.
What is the expected delivery time?
The regular lead time for implants is approximately 30 days, while for instruments, it is typically 45 days.
Are samples available for evaluation?
Yes, we offer samples. Our policy involves an initial charge for the sample, which can be fully deducted from your future official orders.
What are your standard terms of payment?
Our standard terms are 30% T/T payment in advance, with the remaining 70% balance due before shipment.
Do you offer OEM services?
Yes. Since our company began as an OEM provider, specialized OEM manufacturing is one of our core competitive advantages.

Related Products